How To Render Beeswax
After harvesting honey, it would be a shame to discard the wax. Thomas D. Seeley in his book The Lives Of Bees provides us with an idea of the energetic cost to the honey bee colony of synthesizing wax, and suffice to say, its huge.
If honeycomb is to be removed from a colony, it seems incredibly wasteful not to use it, and it's not difficult to render all that beeswax from cappings and comb.
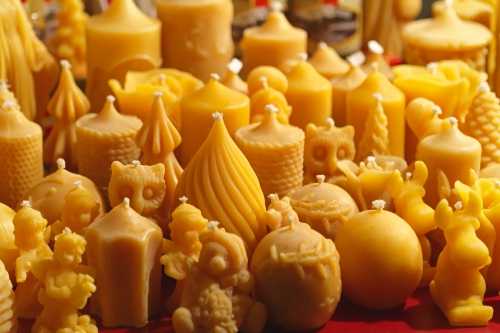
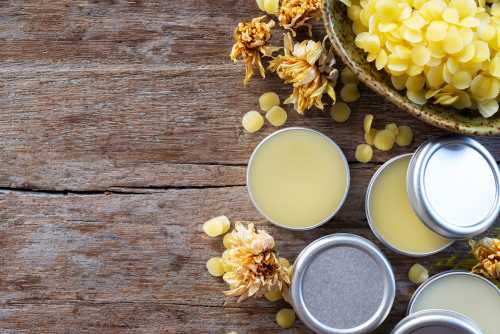
If you are concerned about the time involved, remember that beeswax is a premium byproduct that can be used to create beautiful candles, furniture polish, beauty products, or even sold on for art supplies, for use in encaustic art.
How to render beeswax from cappings and comb
This can be a messy business, so prepare equipment and protect work surfaces in advance.
Beeswax rendering equipment
No fancy equipment is required. You may find suitable receptacles at the back of your cupboard that you no longer use. It's best to keep containers, pans and other receptacles used, specifically for this task.
However, do ensure you have a quantity of clean muslin (or jute sacking) which can be purchased cheaply from fabric or kitchen supply stores.
Alternatively, you could use a solar extractor, which is a glass frame over an insulated box, oriented toward the sun. See below.
How to separate beeswax from honey
Firstly, remove any excess honey residue on the cappings and comb.
To do this, wrap the cappings and comb in a muslin cloth, and tie them securely, then hang up and allow any honey to drain out.
Next, prepare a large pan of boiled water, and allow it to cool. Ensure you use stainless steel or aluminium pans. As stated previously, it's a good idea to use old pans and dishes that you can use only for the purpose of rendering beeswax.
Add your wax cappings and comb to the water. Any remaining honey will gradually dissolve into the water, which need not be wasted and can be used to make mead.
Melting beeswax for use
Allow the wax cappings and combs to dry off and use one of these simple methods to melt the wax:
1. Immersion method
Place the wax into a clean piece of muslin, (jute sacking could also be use) and tie securely. Immerse the bag into a pan of water, and heat gently, but do not allow the wax to boil.
The wax will melt through the muslin because it is lighter than water, and it will then rise to the surface. Remove the muslin 'bag' and discard it along with any debris inside.
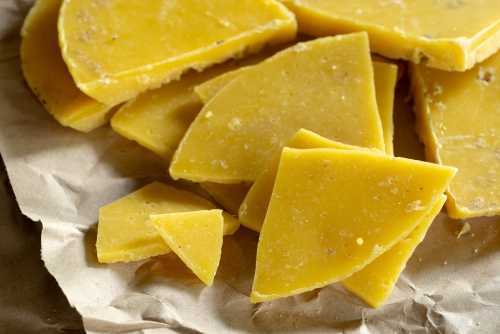
Once cooled, the wax will form a block that can be removed from the top of the pan, and any further debris remaining in the wax can be scraped from the undersurface.
2. Bain-marie
Alternatively, place a heat proof dish over a large pan of hot water, and allow the wax to melt.
If your wax needs to be filtered further to remove debris, pour the melted wax over a sheet of muslin into a clean receptacle, and repeat the process as necessary.
Using a solar extractor
A solar extractor consists of an insulated or metal box with a glazed panel through which the sunlight enters. You can build your own. Below is an instruction video:
Troubleshooting, preventing defects
- Whichever method you choose, keep an eye on it and be careful not to allow the wax overheat or it may flame.
- Overheating can also cause the wax to darken, as can heating for prolonged periods.
- Avoid using pans made from copper, zinc, brass or iron, since these materials can also have a darkening effect on the wax.
- To avoid unwanted odor, ensure no fermented honey is present.
- Use soft water with a low mineral content (such as rainwater) to prevent saponification.
Storing your beeswax blocks
If you don't wish to work with the wax immediately, it can be kept wrapped for a short while in baking parchment or greaseproof paper, and stored in a cool, dry place.
For longer storage periods, use a glass or plastic container as this will help protect the wax and preserve the characteristic fragrance of beeswax, as well as the color.


